Text Instructions
Video Instructions
- Install the CurseForge launcher if not already installed [LINK]

- Open the CurseForge Launcher

- Make sure you have a decent amount of memory allocated to Minecraft:
a. Go to Setting on the launcher
b. Go to the “Minecraft” Tab and under “Java Settings” make sure the “Allocated Memory” is enough for the pack you are going to play (4GB Minimum, 8GB should be a good amount for most packs).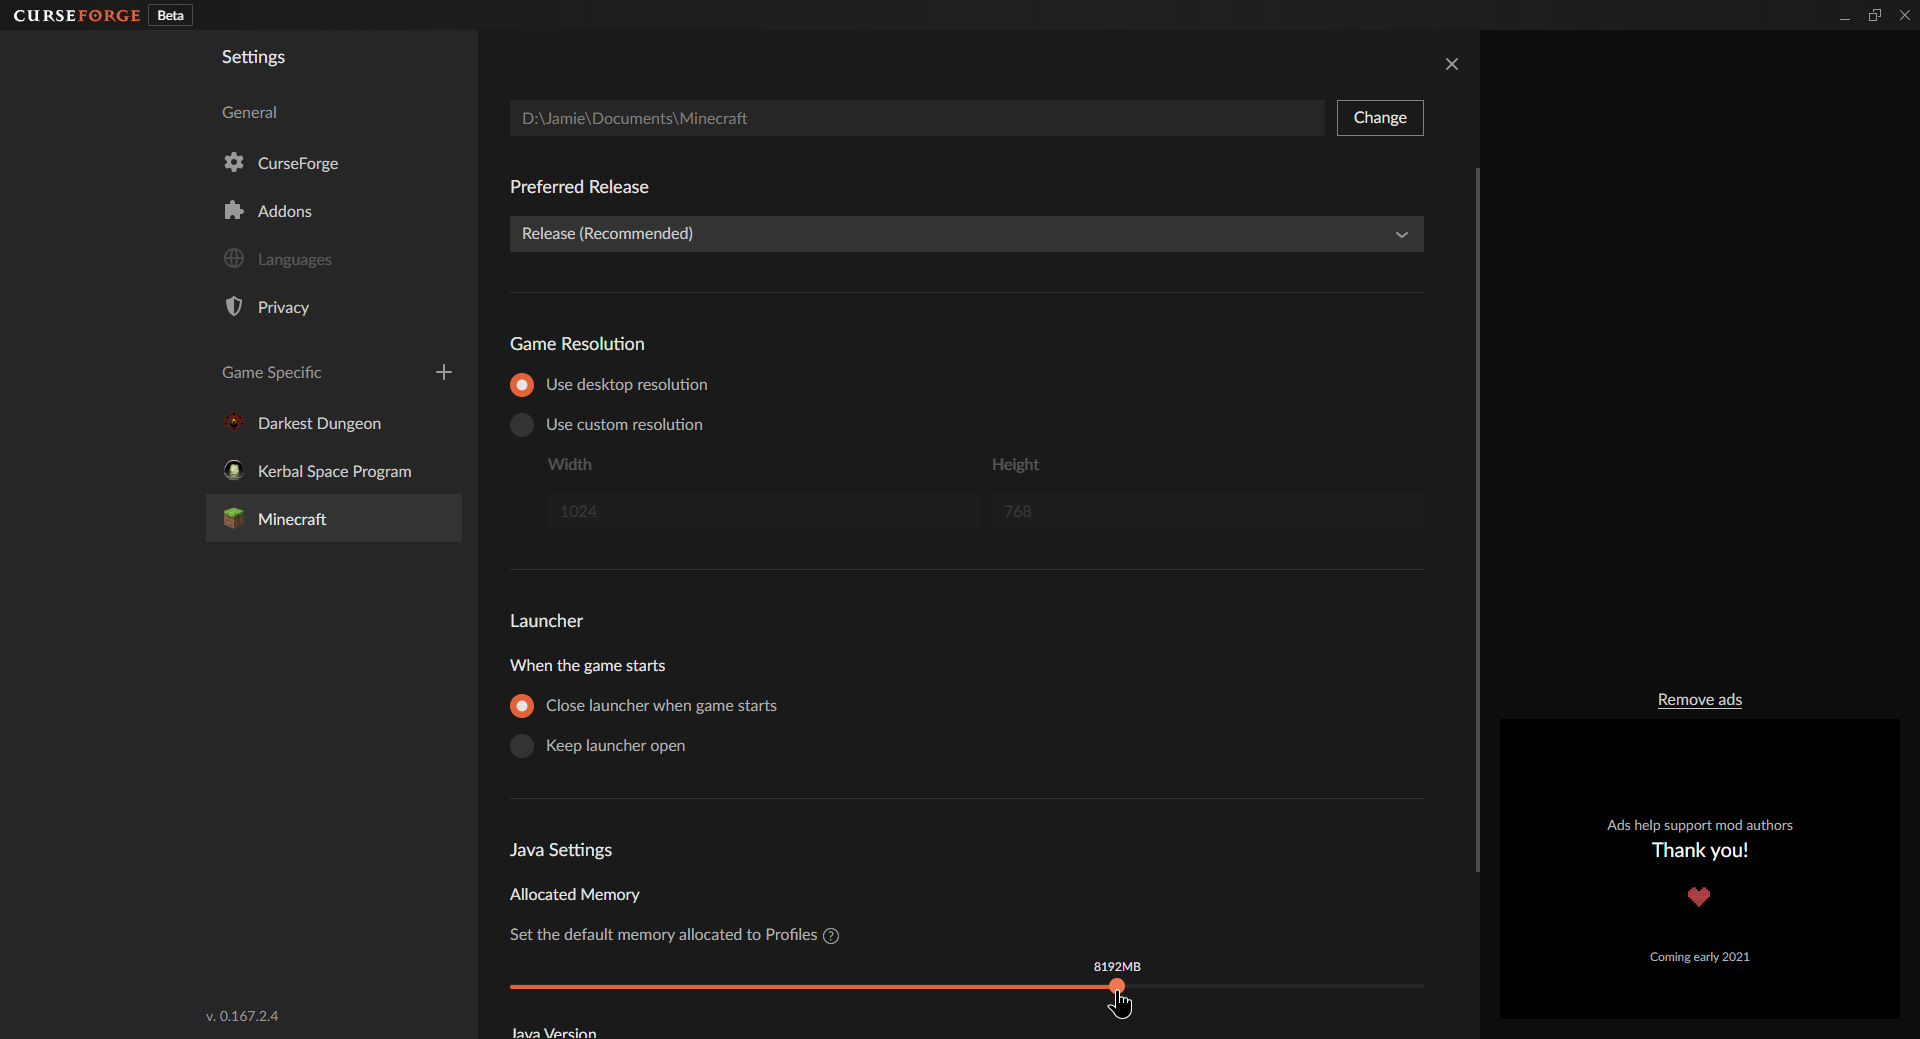
- Now Go to the Minecraft section on the launcher and click “Create Custom Profile”

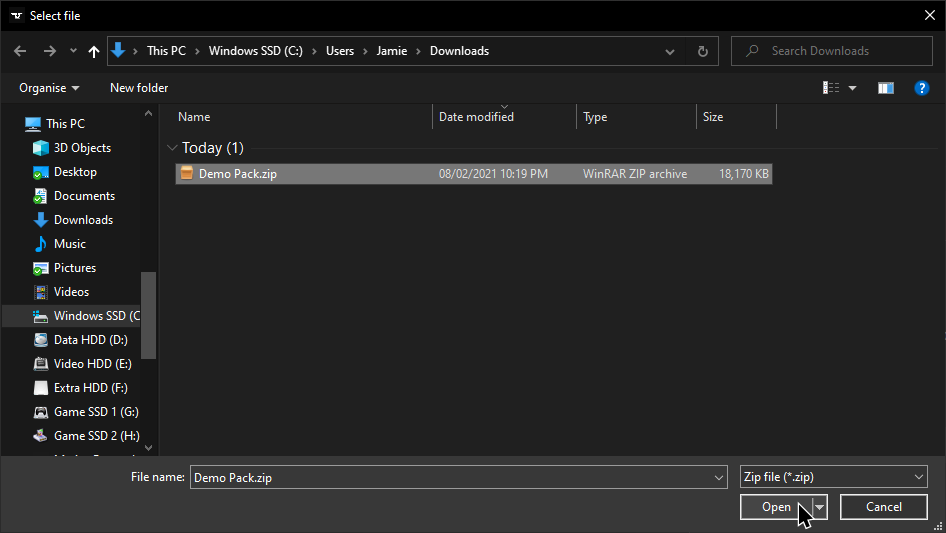
- Then click on “Import”

- Select the packs zip downloaded from the pack maker
- Wait for the modpack to install

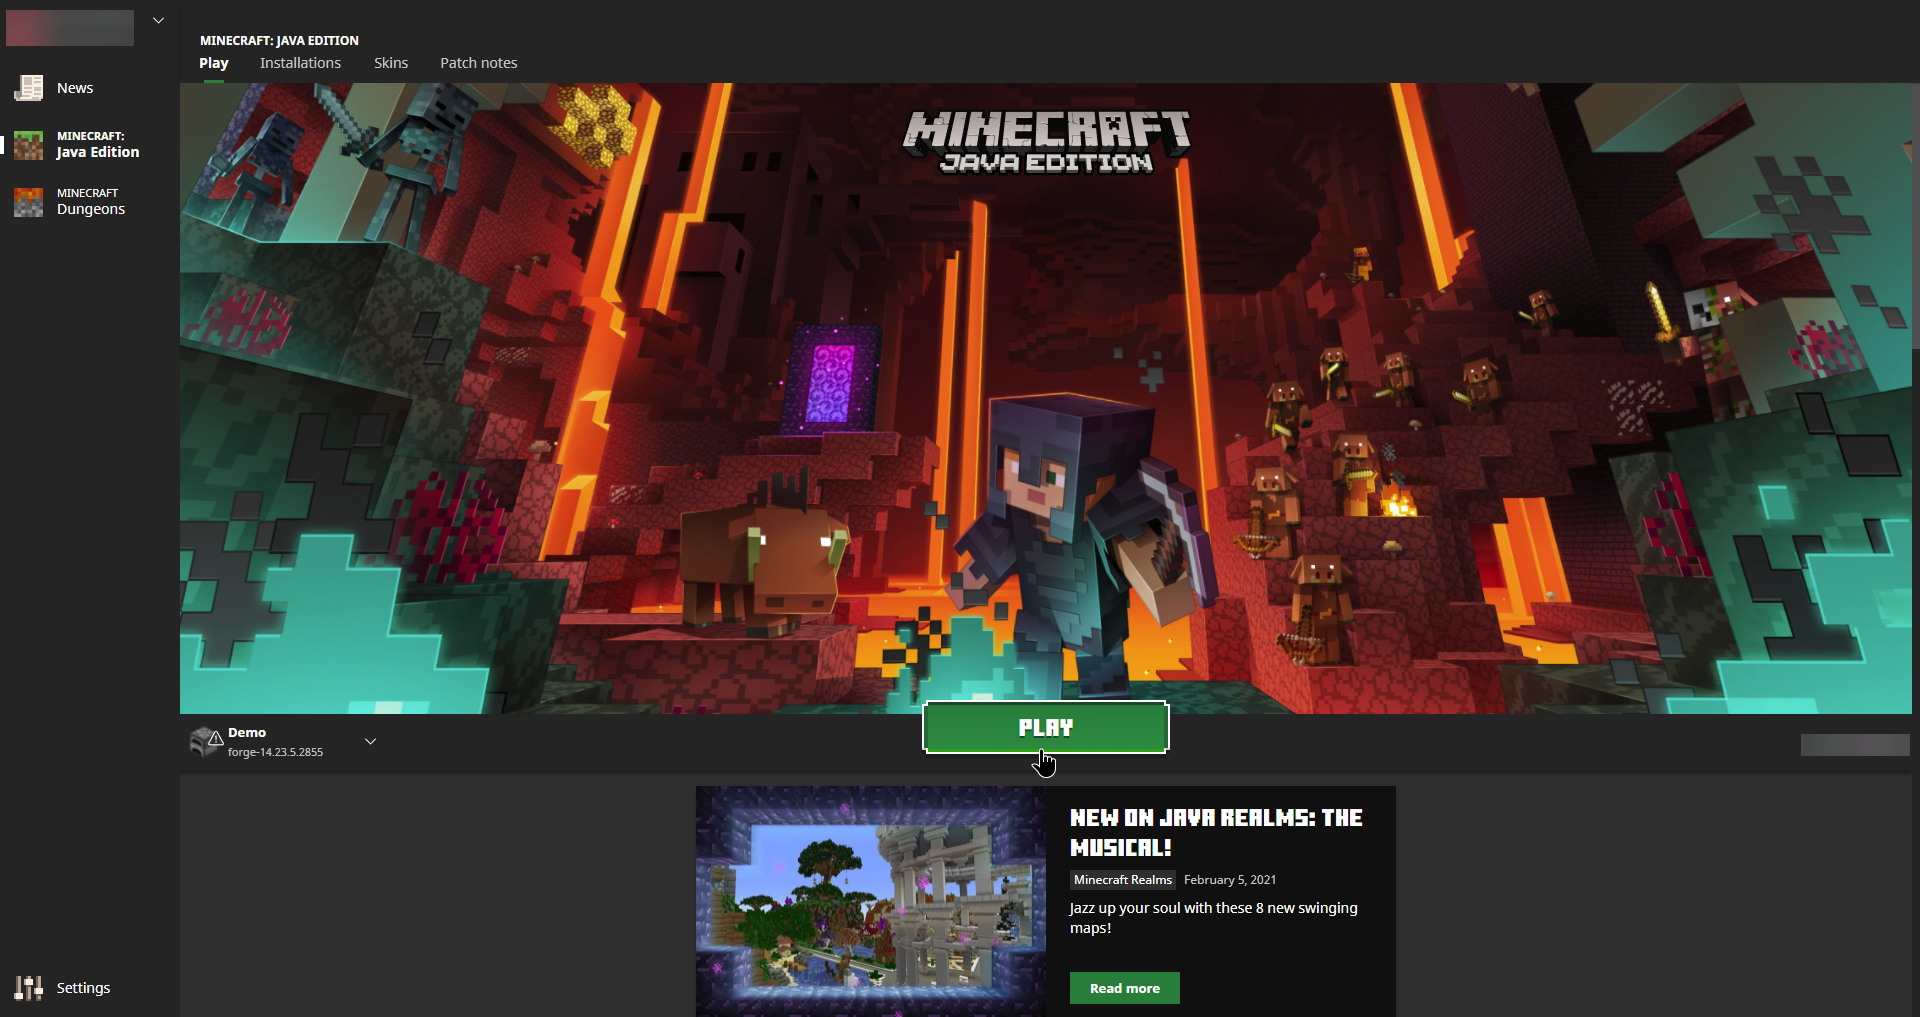
- Once modpack has installed press “Play”

- Now login if needed to the Minecraft launcher and press play to launch the pack
Video Instructions Coming Soon. Maybe.